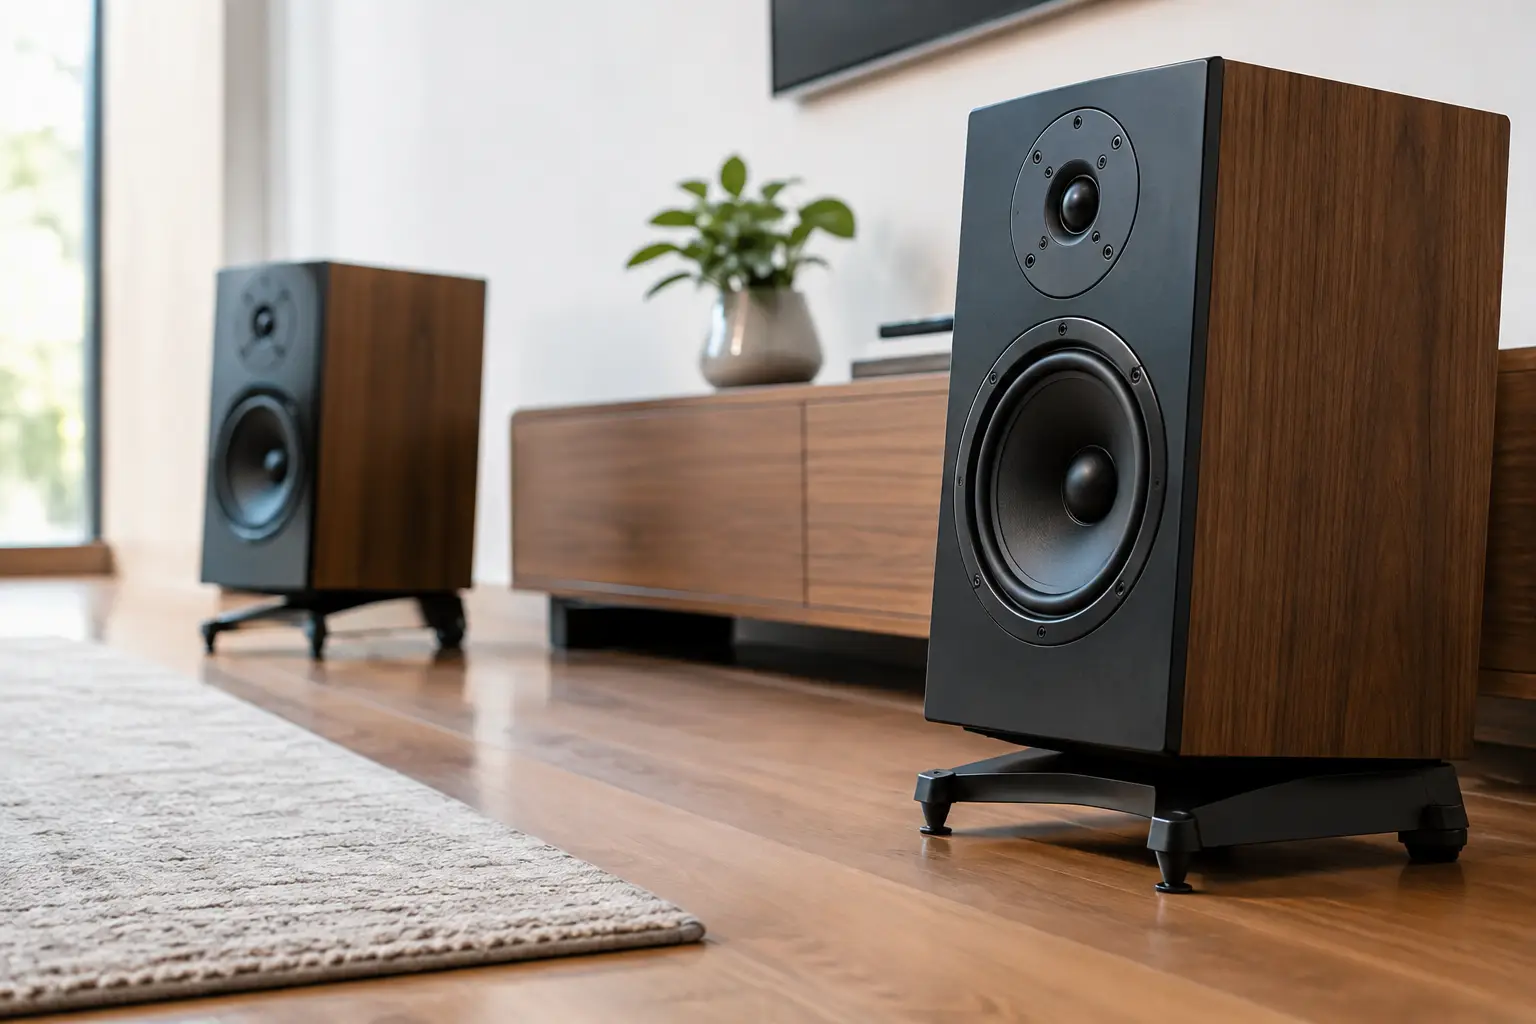
A fine loudspeaker can reveal the breath before a vocal phrase, the wood of a cello, and the shape of a concert hall. Yet when it is placed without regard for the room, those qualities can be obscured by a less glamorous force: reflected sound. To reduce speaker boundary interference is to give the loudspeaker a more truthful acoustic canvas, allowing the recording’s scale, color, and emotional intention to emerge.
This is not about pursuing a sterile room or arranging furniture according to a formula. It is about understanding how a loudspeaker and a room become one system. The room always contributes. The aim is to make that contribution supportive rather than disruptive.
What Speaker Boundary Interference Really Does
Speaker boundary interference, often called SBIR, occurs when sound from a loudspeaker meets a nearby surface – most often the wall behind it, the floor, a sidewall, or a large cabinet – and returns to the listening area slightly later than the direct sound. At certain frequencies, the two arrivals reinforce one another. At others, they partially or severely cancel.
The result is rarely heard as a single, obvious reflection. More often, it appears as bass that feels thick in one note and hollow in the next, a vocal image that will not quite settle into focus, or a soundstage that seems to flatten as the music becomes more complex. A beautifully designed loudspeaker may still play with authority, but its low-frequency articulation and spatial precision can be compromised.
The front wall behind the speakers is especially influential because it is close to the woofer and affects the upper-bass and lower-midrange region where music carries much of its body and warmth. The floor has a similar effect, particularly with floorstanding loudspeakers. Sidewalls tend to have a greater bearing on image width, tonal balance, and the sense of air around instruments.
Not every reflection is a problem. A thoughtfully proportioned room with controlled, appropriately timed reflections can make music feel alive and spacious. The concern is strong, early reflections and cancellations that alter the tonal and spatial information carried by the recording.
How to Reduce Speaker Boundary Interference Through Placement
Placement is the first and most powerful adjustment. It costs nothing, preserves the character of the loudspeaker, and can transform a system more profoundly than many component changes.
Begin by moving both speakers farther from the wall behind them. Small changes matter. A shift of several inches can move a cancellation from one problematic frequency range to another, changing the apparent weight and clarity of bass. In a dedicated listening room, experimenting in increments of two to four inches is worthwhile. Listen not only for more bass, but for cleaner pitch definition in an acoustic bass, greater separation between kick drum and bass guitar, and more natural chest resonance in voices.
There is no universal distance that works for every room. Speaker design, driver height, cabinet loading, room dimensions, and listening distance all matter. As a starting point, avoid placing the front baffle at the same distance from the wall as the speakers are from the sidewalls. Identical distances can encourage overlapping resonances and cancellations. Asymmetry in these distances often produces a smoother result.
Keep each loudspeaker’s relationship to its nearest sidewall as similar as practical. Symmetry between left and right channels is essential for stable imaging. If one speaker sits close to a sidewall while the other opens into a large adjacent space, the tonal balance and reflected energy will differ between channels. The center image may pull to one side, even when the electronics are perfectly balanced.
The listening seat deserves equal attention. Avoid placing it directly against the rear wall, where bass pressure commonly builds and masks low-level detail. Moving the chair forward can bring greater composure to the lower octaves and improve the depth of the stage. It is often more productive to adjust speaker and chair positions together than to treat either as fixed.
Use toe-in to refine the image, not to repair the room
Toe-in changes the loudspeaker’s directivity relative to the sidewalls and to the listener. More toe-in can reduce the intensity of sidewall reflections and sharpen central focus. Less toe-in may broaden the apparent stage and create a more relaxed presentation. Neither approach is inherently superior.
Use a familiar vocal recording to set the center image, then confirm with orchestral or live material. The goal is not an exaggerated spotlight between the speakers. A convincing image has body, scale, and stable placement, while the acoustic space around it remains open and believable.
Treat the Surfaces That Matter Most
When sensible placement cannot fully resolve a problem, room treatment can be highly effective. In a design-led living space, treatment need not resemble a recording studio. Properly chosen acoustic elements can be integrated into the architecture, furniture, textiles, and visual language of the room.
At first reflection points on the sidewalls, absorption or diffusion can reduce the reflections that blur imaging. The classic mirror method remains useful: from the listening position, have someone move a mirror along the wall. Where you can see the loudspeaker’s driver in the mirror is a likely first-reflection point. A carefully selected panel, fabric treatment, bookcase with varied depths, or purpose-designed diffuser may help, depending on the room and frequency range involved.
The wall behind the loudspeakers presents a different choice. If the speakers must remain relatively close to it, thick absorption can reduce the strength of the return. If the room permits more distance, diffusion may preserve a welcome sense of openness without allowing a strong, discrete reflection to dominate. Thin decorative foam is rarely a meaningful answer for bass-related interference. Low frequencies require depth, mass, or specially engineered treatment.
Bass traps can help where corners are accumulating excessive low-frequency energy, but they are not a cure-all for every null caused by boundary interference. A deep cancellation at the listening seat may respond more effectively to moving the speaker or chair than to adding more absorption. This is one reason a room should be measured and listened to as a complete system before treatments are purchased.
Measure With Care, Then Listen for the Music
Measurement software and a calibrated microphone can reveal response dips, decay behavior, and channel-to-channel differences that the ear may struggle to isolate. They are valuable tools, particularly in rooms with difficult dimensions or highly reflective finishes. A waterfall or decay plot can show whether bass is simply elevated or lingering too long. A frequency-response trace can expose a narrow cancellation that explains why certain notes seem to vanish.
But measurements are guides, not the listening experience itself. Do not chase a perfectly flat line at the expense of musical coherence. Real rooms are complex, and a system that measures slightly unevenly can still sound remarkably natural. Conversely, a graph that appears tidy may not capture an unstable image, a constricted stage, or the loss of emotional ease that makes one want to continue listening.
Use recordings you know intimately. Solo piano exposes uneven lower-midrange weight. Double bass reveals pitch and decay. A naturally recorded voice tells you whether the system is becoming more present or merely more forward. Large-scale orchestral music reveals whether the room is preserving separation when many instruments occupy the stage at once.
Where Equalization Helps, and Where It Does Not
Digital room correction and parametric equalization can be excellent finishing tools. They can tame broad bass excess, refine channel balance, and make a system more adaptable across varied recordings and playback levels. Used judiciously, they can bring welcome control without diminishing musical vitality.
However, equalization cannot truly fill a deep acoustic null. If direct and reflected waves cancel at the listening position, adding more electrical energy often asks the loudspeaker to work harder while doing little to restore the missing information. Physical placement and acoustic control should come first. Equalization is most effective after the fundamental geometry of the system is right.
This distinction matters with high-resolution loudspeakers. Their ability to reveal texture, timing, and tonal gradation means they will also reveal a room’s unresolved behavior. Gershman Acoustics loudspeakers are created to communicate the full emotional scale of music, and thoughtful setup allows that craftsmanship to speak without the room imposing its own signature.
Give the Room Time to Reveal Its Best Balance
A successful setup is rarely found in one afternoon. Make one change at a time, live with it for several listening sessions, and keep notes. What initially sounds more dramatic may prove fatiguing, while a subtler improvement in bass definition or image stability may make every record more compelling.
The most rewarding room is not the one that announces its acoustic treatment or its technical precision. It is the one that disappears when the performance begins, leaving a voice suspended in space, a piano breathing into the room, and music with enough truth to invite you back for one more side.