A revealing loudspeaker can only tell the truth about the room around it. When a vocal seems to hover freely between the speakers, a double bass carries both weight and texture, and an orchestra expands beyond the walls, the room is participating in the performance. When bass swells unpredictably or the image collapses toward one speaker, it is usually the room speaking louder than the system.
Knowing how to tune room acoustics is therefore not about stripping a listening space of life with excessive treatment. It is the considered art of allowing the loudspeakers, the recording, and the architecture to work in harmony. Done well, acoustic tuning brings greater clarity and control while preserving the natural energy that makes music emotionally convincing.
Begin With Placement, Not Panels
The most elegant acoustic solution is often a change in position. Before adding a single panel, establish a thoughtful relationship between the loudspeakers, the listening chair, and the room boundaries.
Avoid placing loudspeakers hard against the front wall or into corners unless the design and room demand it. Nearby boundaries reinforce low frequencies, which can add satisfying authority in some rooms but can also blur pitch definition and obscure the rhythmic foundation of a recording. Start with each speaker pulled well into the room, then adjust in small, repeatable increments.
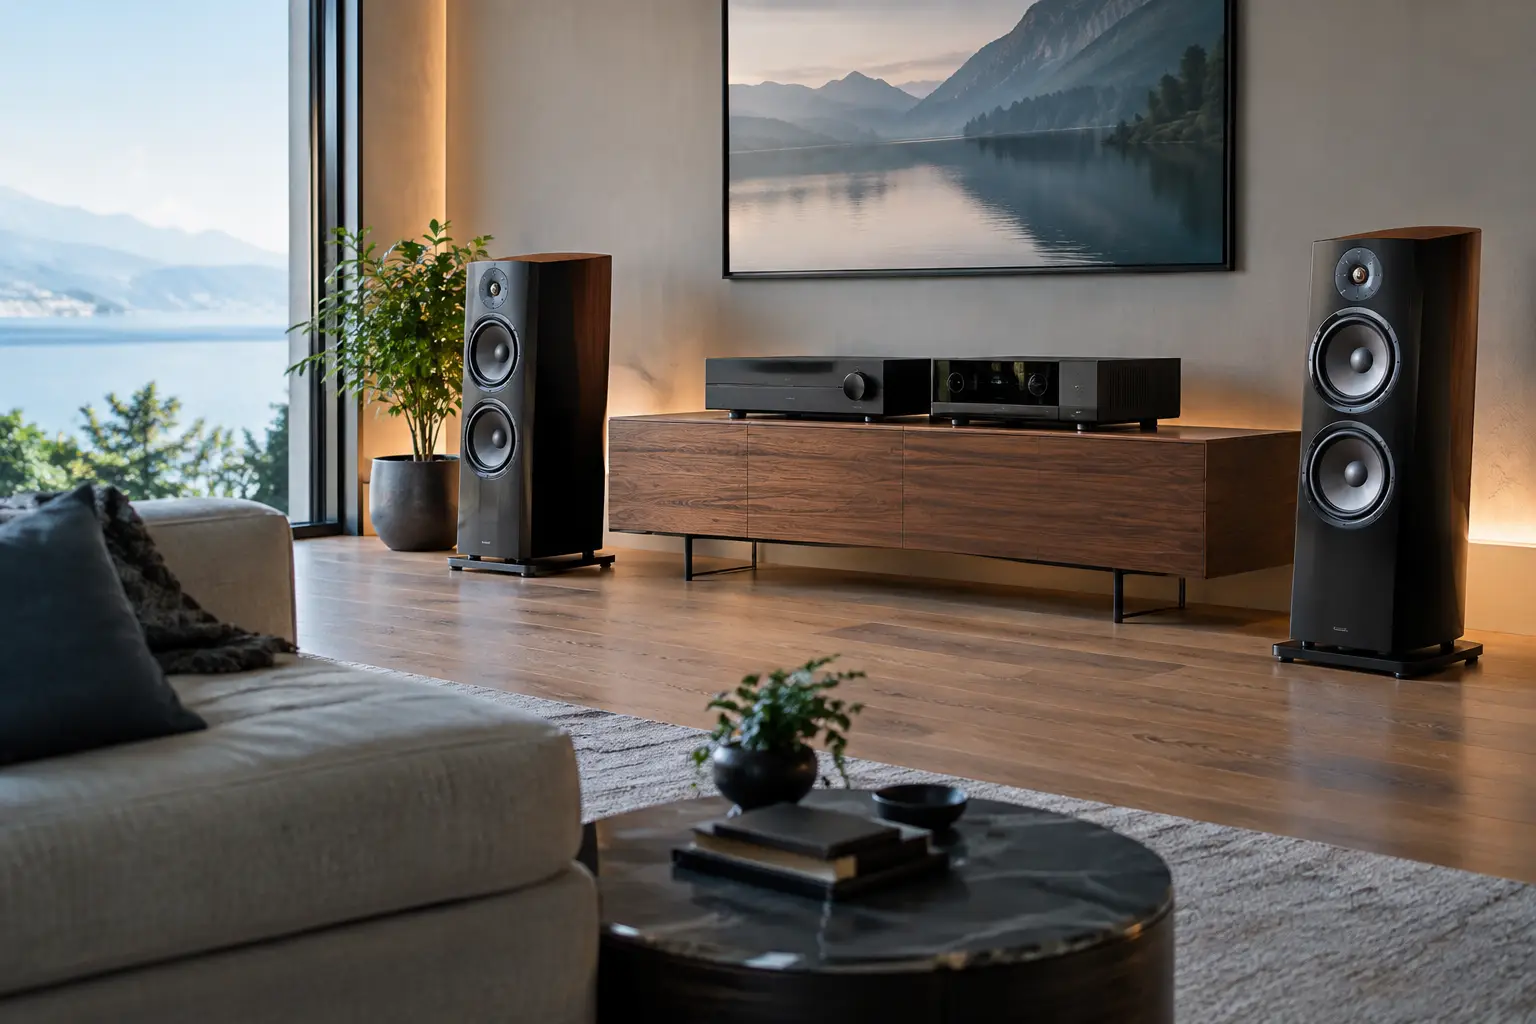
A practical starting point is to position the speakers symmetrically on the shorter wall, with similar distances to the side walls. Symmetry matters because it gives the left and right channels comparable reflections. Asymmetrical placement can make one side of the soundstage feel brighter, heavier, or closer than the other.
The distance between the speakers should be close to the distance from each speaker to the listening position. This forms a starting triangle, not a fixed rule. A wider stance may enlarge the stage but leave a gap in the center; a narrower stance may strengthen vocal focus but reduce scale. Listen for a fully formed image at the center, with instruments retaining their individual space rather than gathering into a broad, indistinct cloud.
Refine Toe-In by Listening to Voices
Toe-in changes more than stereo imaging. It affects tonal balance, the intensity of side-wall reflections, and how directly the tweeters address the listener. Begin with the speakers aimed slightly behind the listening position. Then experiment gradually, a few degrees at a time.
More toe-in often produces sharper image focus and a more direct presentation. Less toe-in can make the stage feel wider and more relaxed. Neither is automatically superior. A live jazz recording with a close-miked vocal is especially useful here: the voice should have body, specificity, and a stable position without becoming overly etched or narrowed.
Use familiar recordings, but choose them carefully. The goal is not to make one spectacular track sound dramatic. Listen to several well-recorded selections with different demands: solo voice, acoustic bass, piano, densely layered orchestral music, and a recording with a clearly defined drum kit. The best placement tends to make all of them more intelligible and believable.
Identify What the Room Is Adding
Rooms do not behave the same way at every frequency. Bass problems are usually caused by room modes – areas where low-frequency energy builds up or cancels because of the room’s dimensions. These effects can create a powerful note at one seat and a nearly absent note just a few feet away.
Walk around the room while playing a slow bass sweep or a musical passage with sustained low notes. Notice where bass gathers, thins, or becomes boomy. Corners are natural pressure zones, so excessive low-frequency buildup there is common. The listening chair is equally important. If it sits exactly halfway between the front and rear walls, it may fall into a troublesome cancellation zone. Moving the chair even 12 to 18 inches can transform bass articulation.
Reflections are the other major consideration. Early reflections from side walls, the floor, ceiling, coffee table, and front wall arrive shortly after the direct sound from the speakers. A degree of reflected energy helps a room feel spacious. Too much, or too little control, can soften image outlines and make treble seem aggressive or vague.
A simple mirror test can reveal first-reflection points. While seated at the listening position, have someone move a small mirror along each side wall. Wherever you can see a speaker’s driver in the mirror, that location is a likely early-reflection point. Those areas deserve special attention if the room sounds bright, diffuse, or unstable.
How to Tune Room Acoustics With Treatment
Acoustic treatment should be selected for a specific purpose, not as decorative insulation. The most refined rooms use a measured combination of absorption, diffusion, and bass control, integrated with the architecture and furnishings.
Control Bass Without Draining Its Authority
Proper bass treatment does not mean less bass. It means bass that starts and stops with conviction. A well-recorded kick drum should have impact and shape; a cello should reveal the resonant body of the instrument without becoming thick or slow.
Substantial bass traps in corners are often the most effective first treatment for a dedicated listening room. Their scale matters. Thin foam products may affect upper bass and treble, but they rarely address the deep frequencies responsible for the most persistent room problems. Purpose-built, broadband bass control is more appropriate when the room has major low-frequency peaks or lingering decay.
Placement and treatment work together. If moving the speakers and chair reduces a bass issue, do that first. Treatment can then refine what remains instead of attempting to correct an avoidable setup decision.
Absorb the Right Reflections
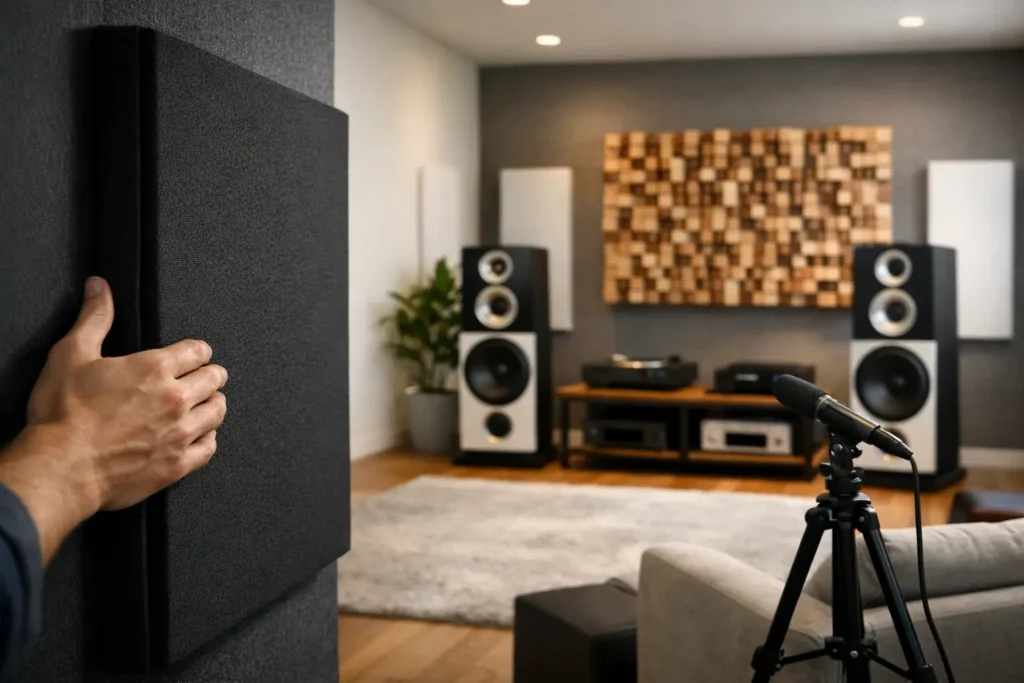
Broadband absorbers at first-reflection points can improve focus, remove glare, and clarify low-level musical detail. In a highly reflective room with stone, glass, plaster, or expansive hardwood surfaces, this can be transformative.
Restraint is essential. Treating every available wall with absorption produces a room that may measure quietly yet sound closed-in and emotionally reduced. Music needs air around it. A good listening room retains a sense of dimension, with decay that feels natural rather than abruptly extinguished.
For many luxury interiors, fabric-wrapped acoustic panels can be selected to complement upholstery, wall finishes, or artwork. Custom treatments can be made visually discreet, but beauty should not be used as a reason to choose a treatment that is acoustically inadequate. The room deserves solutions that honor both its design and its musical purpose.
Use Diffusion to Preserve Space
Diffusers scatter reflected sound rather than absorb it. They are valuable when a room already has enough warmth but needs greater depth, openness, and spatial complexity. A properly placed diffuser behind the listening position, or on the front wall in some systems, can make the acoustic feel less confined without increasing brightness.
Diffusion requires sufficient distance to work properly. In a small room, placing an aggressive diffuser very close to the chair can call attention to itself and make the sound less coherent. This is one of several areas where professional guidance or measurement can prevent an expensive mistake.
Furnishings Are Part of the Acoustic Design
A listening room does not need to resemble a studio control room. In fact, a thoughtfully furnished room often begins with useful acoustic advantages. A substantial rug moderates floor reflections. Upholstered seating introduces gentle absorption. Bookcases with unevenly placed books can provide modest scattering. Curtains can soften glass reflections, though lightweight drapery should not be expected to solve serious bass or imaging issues.
The coffee table deserves particular scrutiny. A large glass table between the speakers and listener can create a strong reflection at exactly the wrong height. Removing it temporarily is an easy experiment. If the image becomes more focused, consider a lower, less reflective piece or reposition it away from the primary reflection path.
The aim is not a room full of acoustic accessories. It is a room where each element contributes to visual serenity and musical ease.
Measure, Then Trust Your Ears
Measurements can reveal problems that are difficult to identify by listening alone, particularly below 300 Hz. A calibrated microphone and room-analysis software can show frequency response, decay time, and troublesome resonances. This information is valuable, but it should guide decisions rather than replace listening.
A graph may show a smooth response while the room still lacks musical engagement because of imaging, timing, or excessive damping. Conversely, a modest measurement irregularity may be inaudible in the context of real music. Use measurement to locate the likely cause, make one change at a time, and return to familiar recordings.
For a system of genuine resolution, such as a handcrafted Gershman Acoustics loudspeaker, small changes in setup can be plainly audible. Mark speaker and chair locations with discreet tape while experimenting. Move one variable at a time. This patient process reveals cause and effect, and it protects you from chasing several changes at once.
Give the Room Time to Reveal Itself
Acoustic tuning is a sequence of listening sessions, not an afternoon of purchases. Begin with placement. Address the largest bass and reflection issues. Add treatment only where it serves a clear purpose, and let the room settle before deciding what comes next.
The reward is not merely a cleaner frequency response. It is the sensation that performers occupy a convincing acoustic space, that crescendos arrive without strain, and that a favorite recording offers details and emotional nuance that had been waiting quietly in the room all along.